Pre-Jobsite
- 811 DIG: Schedule 811 DIG to mark lines on the property
- CONFIRM 811: Make sure DIG has marked lines
Pre-Prep
- TEST ZONES: Test ALL zones (even zones not covering lawn to be installed) and mark all sprinkler heads with flags
- NOTE DOWN ISSUES: Note down any broken irrigation parts and take pictures of it. Note down if anything is not working properly, especially zones not working.
- FLAG PROPERTY: Mark all visible valve boxes and anything on the property that could be damaged with a tiller
- MARK PROPERTY LINES: Mark property lines (with marking paint)
- MARK AREAS TO BE TILLED: Mark where lawn will be tilled (good Idea to reconfirm with the customer before tilling)
Prep
- SCALP EXISTING LAWN: If there is established lawn, weed wack (scalp) to prep,
- RAKE AND BAG GRASS: THOROUGHLY rake out all grass and put in bags. Only put grass in bags. Not dirt. NO DIRT IN BAGS! NO DIRT IN BAGS! NO DIRT IN BAGS! NO DIRT IN BAGS! NO DIRT IN BAGS! NO DIRT IN BAGS! NO DIRT IN BAGS! NO DIRT IN BAGS! NO DIRT IN BAGS! NO DIRT IN BAGS! NO DIRT IN BAGS! NO DIRT IN BAGS!
- TILL: Till marked areas
- SMOOTH AND LEVEL WITH RAKES: Smooth out tilled areas with rakes. Make sure as flat as possible
- EDGING: Taper all edges of tilled areas to make sure planted sod will be flush with either existing grass or sidewalks/driveway/pathways
Installation
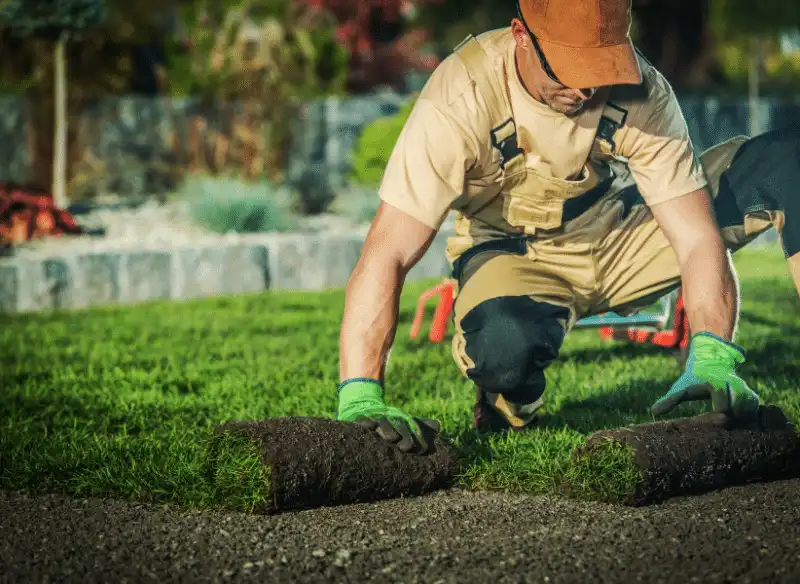
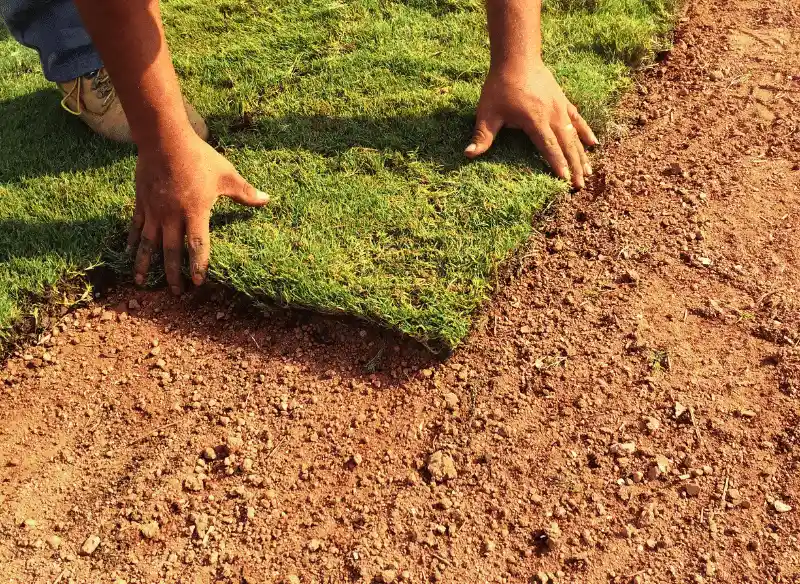
- LAY SOD: Starting with the longest straightest line, Lay the sod. If there will be a lot of wheelbarrowing, start on the farthest part of the yard so that you do not wheelbarrow over newly laid sod.
- MAKE SURE SOD IS STAGGERED: The sod MUST BE STAGGERRED (lay the sod like bricks)
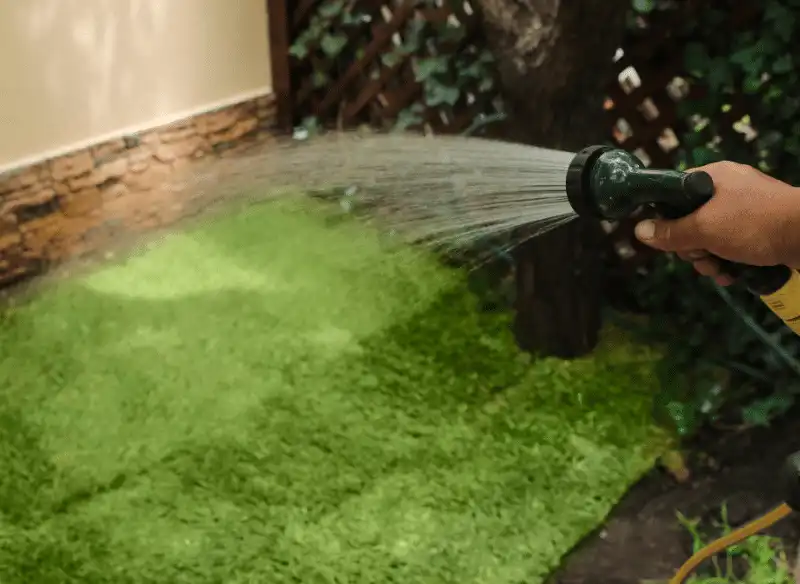
- WATER SOD WHILE LAYING: While laying sod make sure that the sod is being watered as it is being layed (you can lay out a walmart sprinkler connected to a hose to water the sod. You can move it as you lay sod.)
- CUT SOD: Make the needed cuts (on edges and around sprinkler heads) as sod is being layed
- CLEAN UP DEBRIS: Clean up all debris and cuts
- ROLL SOD: Make sure sod is damp, then roll it with a 250 lb roller
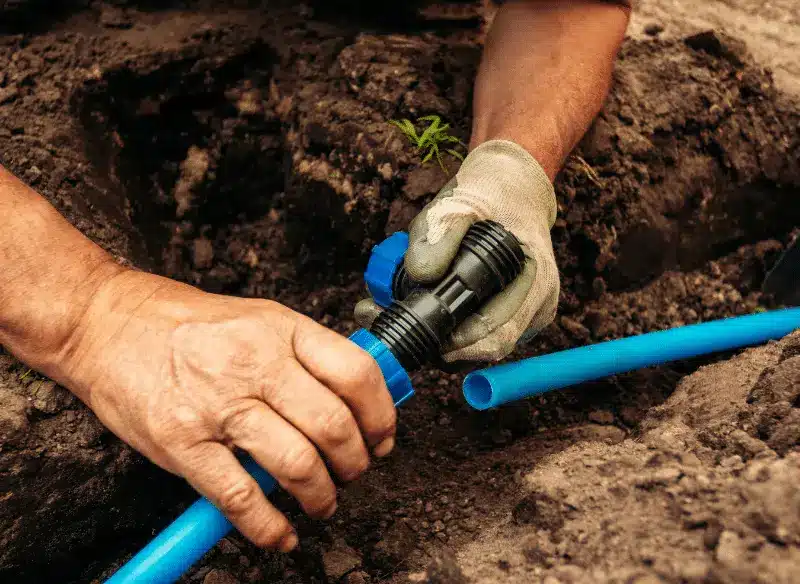
- TEST SPRINKLERS AGAIN, MAKE REPAIRS: Test all sprinkler zones and make necessary repairs if we broke anything that was marked by us (and working) before we started work.
- RAISE HEADS: Raise all heads that need to be raised in order to water the newly planted sod
Post-Installation
- CLEAN UP: CLEAN UP (This Step must be followed every day at the jobsite) – Make sure Job site is clear of all trash and debris. Anything we need to leave on the property is neatly placed where the customer wants. Sweep where needed and hose down where needed. The property MUST LOOK IMMACULATE. It needs to look as good if not better than when we got there. Pathways, walkways, sidewalks of any kind must always be left unobstructed! UNLESS we need to block it off for safety reasons.
- PROGRAM SPRINKLERS: Program the sprinkler system to soak the sod for the next 14 days
- GENERAL RULES TO FOLLOW:
– Every zone that has even 1 head covering sod must be programmed for soaking.
– Each zone needs 25 to 40 min/day EVERY DAY, for 14 days. Split the running times into 2 time periods for each zone.
– Watering should start at around 4:30 am.
– Factors to consider for watering schedule: SOD type, Amount of shade, Slope, How well water drains through the soil, time of year, heat…
– DONT LEAVE PROPERTY UNLESS SPRINKLERS WORK
– MAKE SURE THE SPRINKLER SYSTEM IS ON AND ON THE RIGHT PROGRAM! DO NOT LEAVE THE PROPERTY UNLESS THE IRRIGATION IS PROGRAMMED PROPERLY.