Pre-Repair
- INTRODUCE: Introduce yourself to the customer and ask what the issues are. **look professional**
- WAIVER: Before touching any components, get the customer to sign a waiver giving us the right to test the system. This way if anything happens as we are testing the system we are not responsible.
- LOCATE SHUTOFF: Locate the shutoff to the sprinkler system (Ask the customer where it is)
(usually a ball valve, gate valve, or backflow device) you can ask the customer. If you can’t find it, just let the customer know that if the system needs to be shut off when you begin testing that the water main will have to be used to shut off water. (And that they may not have water until the issue is fixed worst case scenario)
- LOCATE TIMER: Locate sprinkler controller (Ask the customer where it is)
Diagnostic
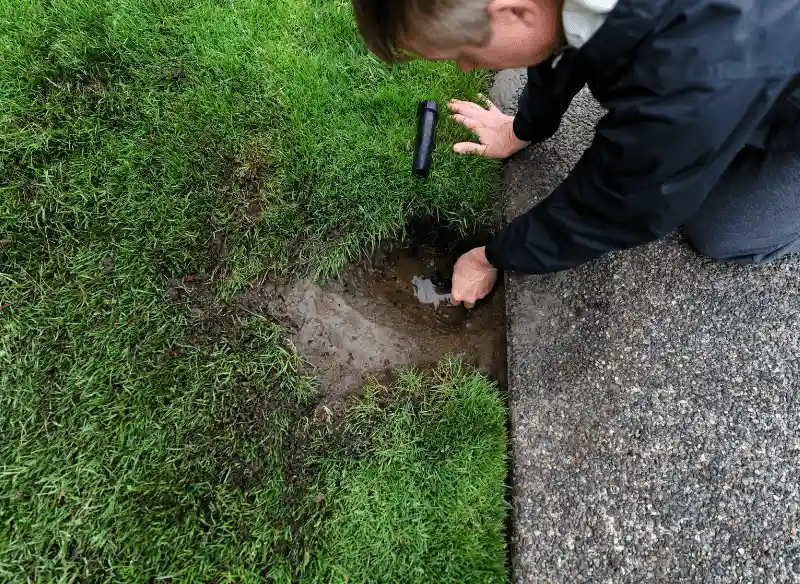
- RUN ZONES: Run through all zones on the sprinkler controller, flagging all issues. Keep note of the problems on each zone and also note down where each zone is.
- TEST CONTROLLER: If the original controller seems to act weirdly, use a test controller to save time. **Make sure to take pictures of wire set up before messing with any wires**
- MULTI METER: Ohm out wires as needed.
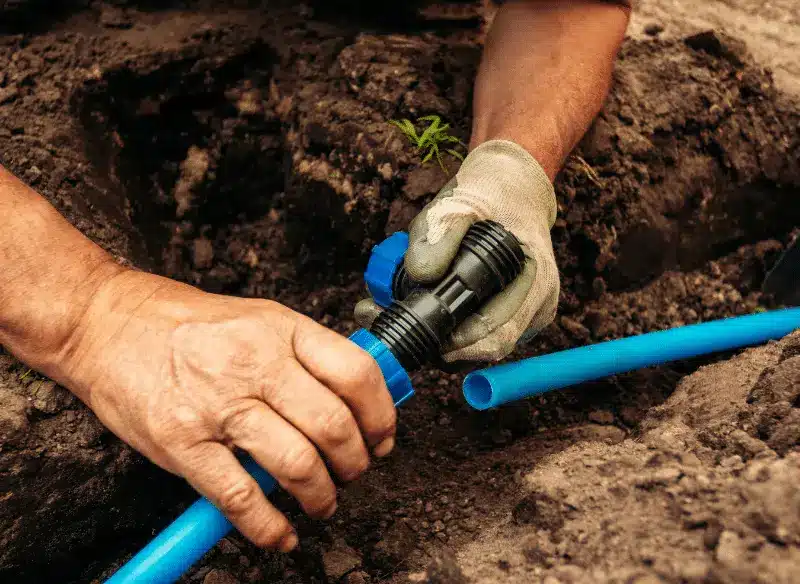
- BLEED VALVES: Use manual testing methods to turn on zones that do not turn on electronically. Now, if controller was acting weirdly, diagnose if a new controller is needed.
- TALLY UP TICKET: Tally up everything you found running through the zones and add up the charges. Refer to price list as a guide. If valves need to be located for a full diagnostic, let the customer know about valve location and charge.
- HOURLY TICKET: Charge an hourly rate when…. Solving wire issues, Valve locating, or doing any work that we are uncertain of how long it will take. (usually charge $160 an hour) (Plus Parts).
- PRESENT TO CUSTOMER
- COLLECT APPROVAL SIGNATURE: Present the diagnostic with charges to the customer. Always remember to mention that MORE PROBLEMS OFTEN SHOW UP WHILE DOING REPAIRS. The customer must be prepared for the worst case scenario. Especially if valves need to be located make sure to prepare customer for possible additional charges once valves are located.
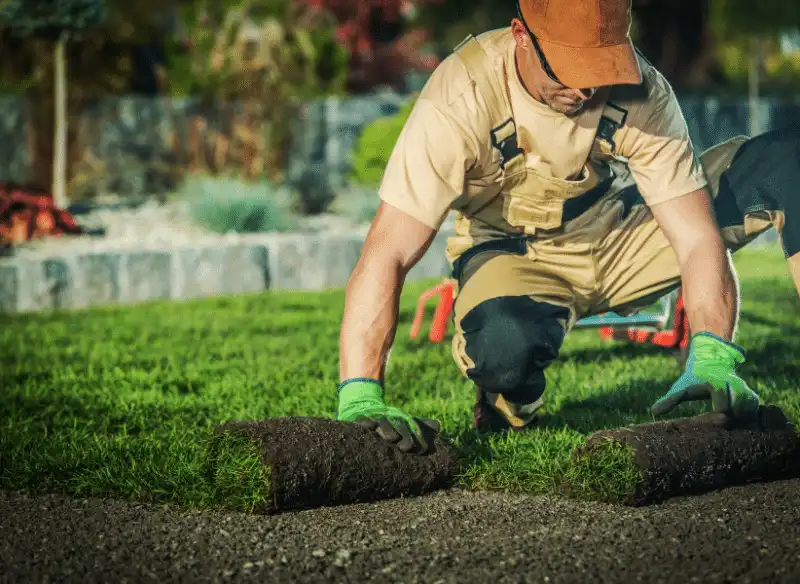
- DO REPAIRS: Once given the green light, Complete repairs. Close out if needed. If the customer does not wish to proceed, Close out the repair.
Repairs / Continued Diagnostics
- ADDED CHARGES: If more issues show up as you are repairing, make sure to let the customer know of the issues and any added charges before continuing to work.
Once finished repairs, run a final check of entire system. If there are more issues, present a continued diagnostic to the customer. - CONTINUED DIAGNOSTIC: Continue to repair and continually diagnose as needed, making sure to notify the customer every time new issues arise.
- FINAL CHECK: Complete a final check of entire system to make sure system is working correctly
Closing Out
- WALK THROUGH: Walk through the system with the customer showing them all repairs and making sure they are satisfied.
- Get PAYMENT, SEND INVOICE, COLLECT SIGNATURE: Collect payment for repairs (always push for check or cash). We accept card also. Make sure to send the customer the invoice through our invoicing app and make sure they sign. Make sure to tell customer about the warranty on repairs. Tell them about how for future issues we can come back at a discounted service call because they are a repeat customer.
- CLEAN UP: Clean up, then wash tools.